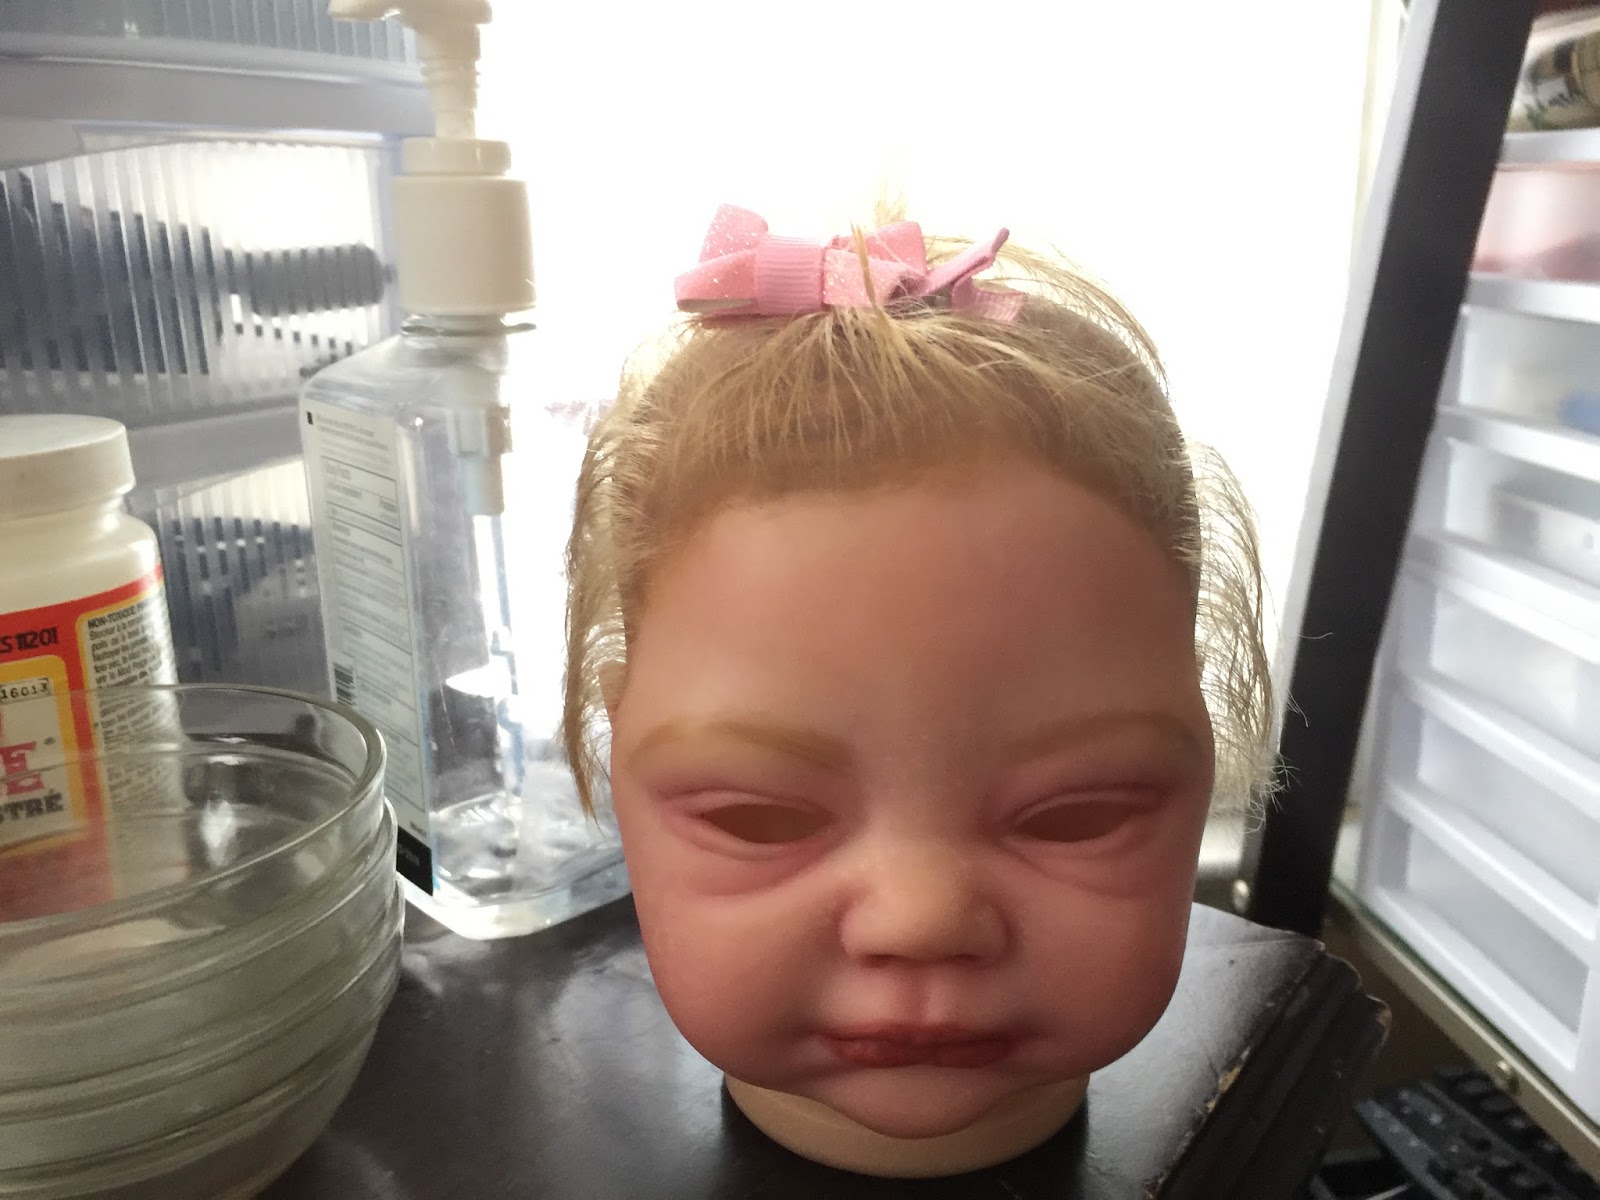
This is my lovely reborn I am working on whom is a Bountiful Baby kit called "Kaelin". I named her Shekeia Kaandra. I am sure you are wondering how I got this beautiful color that I put on my ethnic reborn babies. I had a hard time figuring it out but, it seems it is looking amazing at this point, much better than I thought. But luckily I figured it out, so I am going to share it with you. This particular doll is not creased yet.
Let me tell you the technique for an ethnic baby is somewhat different than doing a Caucasian baby. The methods really are not the same. I dab on paint with a wedge for a Caucasian reborn baby and I paint on paint and pounce carefully with a cosmetic sponge with an ethnic baby, wiping the sponge on a paper towel much more than with a Caucasian baby. So definitely know there are subtle differences in how you apply and pounce the paint and what you use to apply it. Also there are many more layers involved the darker you want your ethnic baby to be.
So lets get started!
Stuff you need:
Genesis Heat Set Baby Skin Color Paint (Initial Base Coat)
Genesis Heat Set Burnt Umber (Primary and Most Excellent Skin Color)
Genesis Heat Set Yellow (Yellow Wash in early Skin Color Mix)
Genesis Heat Set Regular or Ethnic Nails and Lips (burgundy color) (Mottling and Skin Color Mix)
Genesis Heat Set Vein Blue (Mottling and Veining)
Genesis Heat Set Eyelid Purple (Mottling)
Glaze or Wash Paintbrush or other Paintbrush that will smooth on paint
Cosmetic Wedges (Plucked of course)
Cosmetic Sponges
Varnish of your choice
Paper Towels
Gloves if you wish
Nuwave Oven (what I have) or other oven of choice (preferably not your home oven)
You could use a bit of mint green in the original base coat if you wish for color correction.
So first I used a base color wash of baby skin color from bountiful baby as you always need a base color, then I put a burnt umber and yellow wash on the doll. Do not use too much yellow. You could alternatively add just a yellow wash before starting. Many darker colored skin tones have a lot of yellow in them. And I love the beautiful glow it helps create. You could omit the yellow tone if you were going for a more dark black color but I think it adds a certain real look to the baby doll.
Use a smooth feeling flat ended glaze or wash style paintbrush to paint on the colors then dab off quickly, pounce quickly so the paint gets a nice smooth look. You need to do it this way for a more intense dark look. Otherwise the color does not get as dark.
(see how his fingers and palms are lighter)
Remember when doing ethnic colored dolls you might put one or two layers of the skin tone on palms and bottoms of the feet and lips but after that you must not put color on them! Avoid them after wards so they look natural.
(This is a different doll I am working on and at first I could not get her face to look smooth until I figured out how to use the cosmetic sponges instead of the wedges. What a difference that made!)
Next I did a layer of lip, nail burgundy color, burnt umber and the blue vein color with burnt umber being the most that I mixed in. I did this several times. Maybe even 5 -6 or more layers, baking after about every three layers.
Then I proceeded with blue mottling layer, red mottling layer, and purple mottling. Then I did veining with vein blue.
Let me tell you I did the first layers with a cosmetic wedge and that was a mistake as the color was coming out looking dirty.
Also make sure you are dabbing your sponge on a paper towel if the paint is looking dirty.
It needs to be done with a cosmetic sponge with a nice flat surface on it (More about that below).
(I put her on a plastic tray because she was still too hot to carry from my oven lol.)
After all those layers were baked I did two more layers of burnt umber mixed with mars black. Then I baked! Voila! Beautiful dark skin. If I did a few more layers of the burnt umber and mars black I could probably get even darker ethnic skin for those wanting to do Aboriginal, Very Dark Spanish, Hispanic, Indian and Ethiopian like color hues.
Aboriginal Natives
(not my photo - just borrowed for tutorial purposes)
This particular baby is more of the traditional color of a biracial African American who might have a other ethnicity mixed in and maybe is a tiny bit lighter than people who live at the equator where skin is much darker.
Australian Native
(borrowed image sorry)
These images help us see there are many different colors of ethnicity from around the world.
African Boy
(What cuteness is this - borrowed image for instructional purposes - he has a bit more yellow in his skin)
African Boy
(borrowed image - Look how beautiful his brown chocolate colored skin is)
(borrowed image for comparison in skin colors - goodness the face she is making is so cute)
Pardon the nudity. This is a doll painting tutorial so I hope you can skip forward on if you don't want to see it. I do not show the genitals but I did them slightly lighter than the other skin.
For nipples I used a combination of Flesh 03 and Flesh 02 and I did them early on before last layers and then just went over them with the burnt umber and mars black colors. So they got a bit darker with each layer of pouncing.
One very important thing to get the even skin tone is that I learned you need to use a cosmetic sponge not a wedge. Wedges are fine for the mottling and such but the cosmetic sponge allows you to get a nice even layer. I used a cosmetic sponge that I got cheap at either the dollar store or target.
I applied the burnt umber mixtures to the sponge and made sure to dab it on a paper towel if it looked dirty on the skin. This helped to create an uber smooth texture over the mottling and veins. I could not have gotten that even color with a normal plucked cosmetic wedge.
Keep adding the burnt umber and mars black layers until you get the tone you want.
When you are done painting the skin tones and baking it, add your details, creasing, blushing and more before doing the varnish.
Don't forget to seal your work when you are done with a varnish of your choice. I am still trying to figure out the best way to do that as most varnishes leave crusties, however a fine artist recommended just using the genesis heat set satin varnish or dewy baby skin paint and another fine artist recommended just using genesis heat set thinning medium. Some mix varnish with thinning medium and colors into the mix. It's really up to you and what you prefer.
I tested both methods and the thinning medium came out pretty good. I just am not sure if this is enough to protect the reborn baby doll from rubbing, washing and normal use damage. More to come on that later.
Make sure you finish baking the skin tones and details before varnishing and re-bake. Some artists recommend re-baking several times at the end. Do not add eyes, eyelashes, hair or magnets before these steps are done. Baking ruins most things. Goodness knows I have ruined acrylic eyes, eyelashes and mohair in the oven during my first doll or two. But if you have to bake after doing hair make sure to put a damp wash cloth over the hair before doing it and do babysit your doll while baking.
Be very careful with heat guns too. I certainly ruined eyelashes with one while trying to just heat lips up and not use the oven. I have learned not to do any of those steps before the last baking. Also if you have painted hair, make sure to do that before eyes, eyelashes, rooted hair, rooted lashes or magnets. Bake the painted hair layer. Seal the hair layer with varnish and re-bake.
If you are going to put resin on eyes, lips and nails do it after your final bake. Do not bake after putting resin on. It might over heat the resin and crack or melt the resin.
Make sure your oven is in a well vented room or outside on the porch or in the garage where plenty of air is and where the vinyl fumes won't affect you or others around you. I use mine in the bathroom with the fan on and the window open. But only when I know I won't have kids or toddlers running around it. I also make sure to unplug and move it to a safe spot when not using my oven.
Well I hope you enjoyed my technique and I hope it helps you do your own ethnic reborn dolls in a more realistic way as it has helped me.
With Love Always,
Kimberly
(Don't laugh at my picture, I was up late. lol)