I bet you wonder what the heck is Kimberly doing with her reborns lately? Well, I have worked on them a bit. But I have also been knee deep in homework. Blech! I like learning but not a whole university subject in 8 weeks. Yikes, it's making me feel a bit crazy, especially when I just want to paint baby dolls, but I have to finish this degree. Plus my elbow is really bad as I have a good case of tendonitis and painting and rooting doesn't make it any easier.
Well, I have been working on several dolls. So here is what I am doing at the moment in between mounds and mountains of homework!
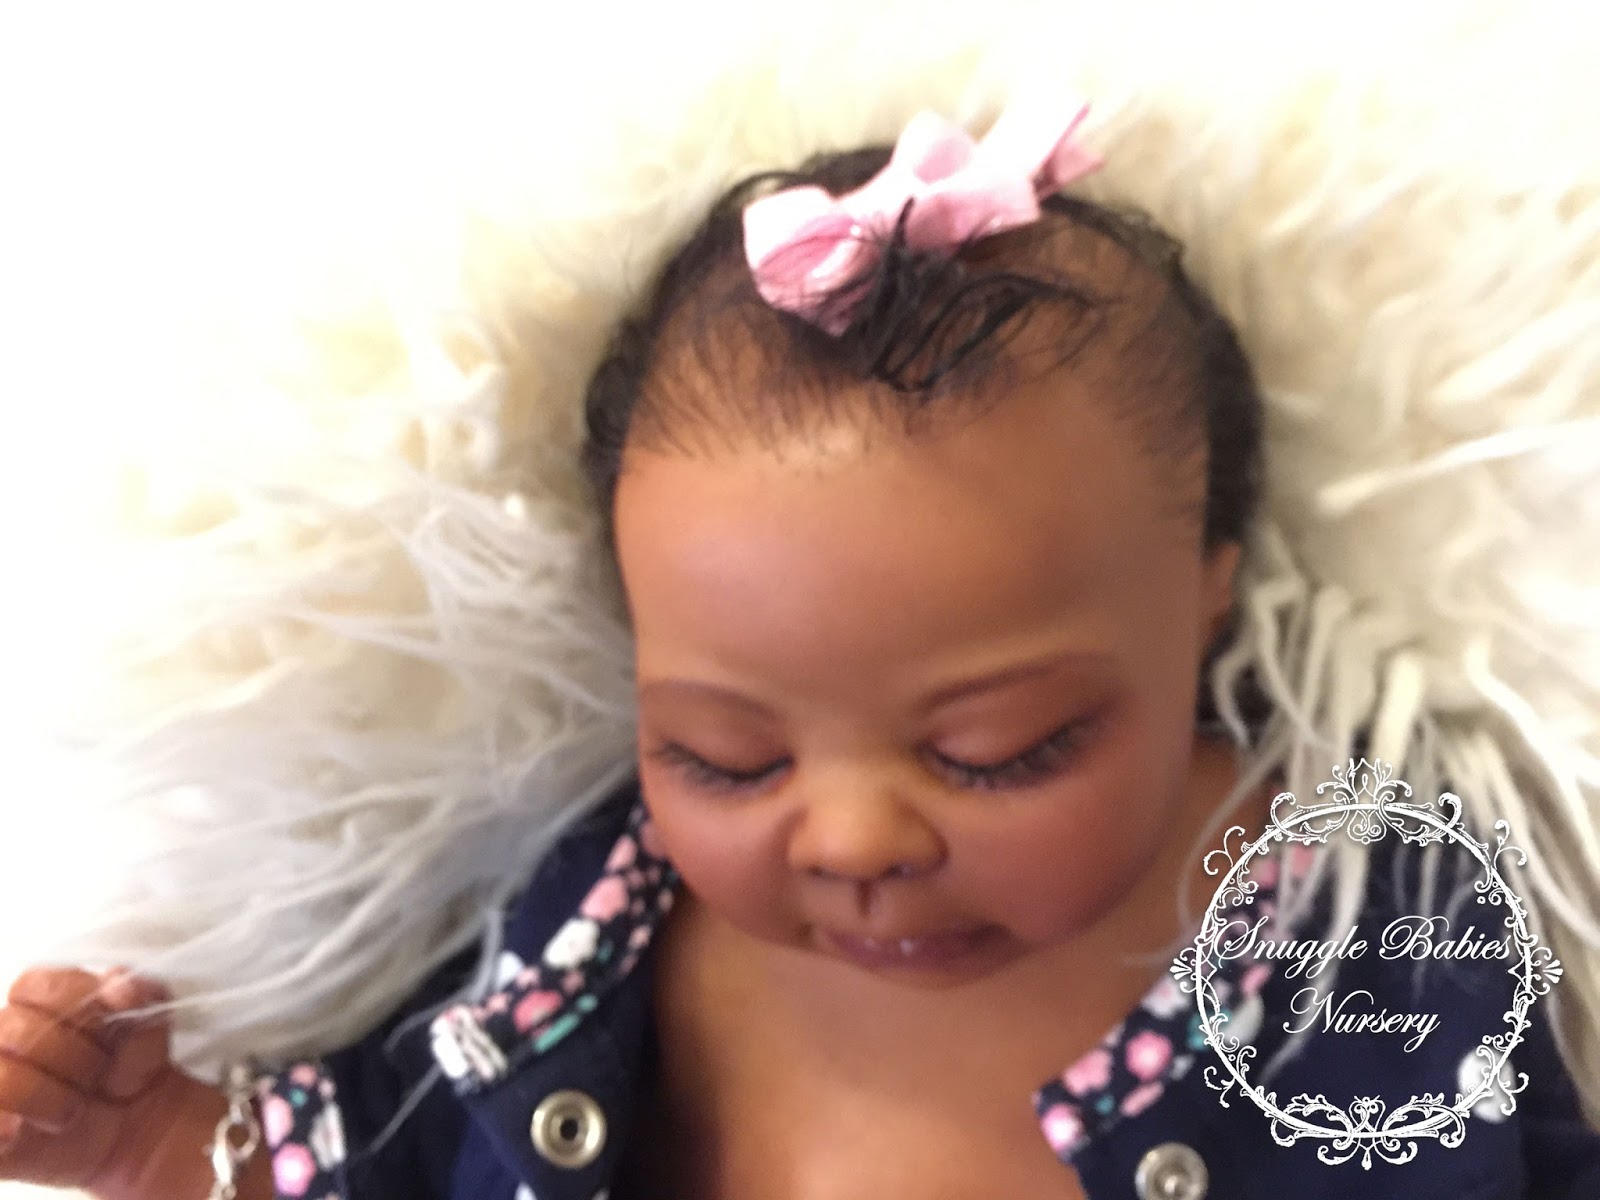
1. Rinesha Ashanti - My second Ethnic Reborn Baby Girl - She is fully painted, sealed and rooted at this point. She is ready to be reborned. I know you can't see her well with this picture but tomorrow I will likely be reborning her into her soft doeskin body! I am super excited to see how she comes out!
2. Rose Delilah - She is a caucasian reborn baby girl - She is fully painted, I just need to seal her and root her and reborn her. I can't wait, I am already so in love with her. I may start over with her eyebrows but I am thinking she will be a blonde. Her complexion is so beautiful! She has a tiny bit of baby eczema on her forehead and tiny milk spots.
3. Nicholas Elijah - A caucasian reborn baby boy - He is fully painted, he needs sealing, rooting and reborning. I already got his clothes. So cute. Poor little guy needs his nails trimmed, he scratched his face and oh no he has a touch of eczema on his forehead. I think he will also be blonde.
4. Elsie May - Working on a caucasian girl with black hair and newborn blue eyes. Her little smile will amaze you! She also has a very tiny touch of baby eczema on her forehead and tiny milk spots. She is rooted with black hair now but I am working on her eyebrows next. I am hand rooting them over painted eyebrows. She is really cute! I tried her with brown eyes but I settled for medium dark newborn blue. (Sorry her hair is a mess right now)
5. Celeste Moon - An ethnic reborn baby girl. Not fully painted yet but getting there.
6. Lillian who I am reborning into a boy for my grandson. He wants his own boy reborn so i am going to make him one that looks like himself.
7. I think this one is called precious or something. Gonna start that one soon!
And several more that I will be starting. Right now my table is filled with babies and limbs and I am having a Christmas Potluck next weekend so I better get my crafting mess all cleaned up!
I have gotten Patreon set up partially and also working on adding more videos to youtube so you can see what I am doing. Visit me again soon!
I took more pictures of Shekeia Kaandra. Here she is...
She will be available on e-bay and reborns.com or you can email me quickly and I can send you an invoice via paypal. She is $400 plus Shipping (depends on your area - to Continental US is 59.95).
Available
If you want your own baby like this one, let me know!
Her belly plate has a small crack on the inside (not visible from the outside) which I have repaired so I am throwing it in for free. It is as is. No warranties. (Flowers not included - they are just graphics)
The belly plate has thin pink satin ribbons to tie it on.
Body Plate Front
FREE Body Plate Back - thin crack on back of plate repaired with Modge Podge 3D Medium.
She comes with lots of goodies shown and you will also get a FREE baby bracelet!
No refunds, no returns, no warranty. Please see my care instructions!
I just wanted to take a quick minute to show you how I root my eyelashes and make them look good. To see videos just go to the bottom of this post where I show you how I rooted Shekeia Kaandra!
Supplies:
1. doll head
2. quality mohair or other hair type that matches hair or is close to hair color
3. rooting needle with single notch or other similar needle
4. a waterproof glue like modge podge - matte or gloss
5. warm panty hose or sock filled with hot white rice
6. clean unused toothbrush (never used on teeth...ever)
7. small water spray bottle or a small cup of water
Preparation:
Make sure you are finished with painting and finishing your doll. You may want to preferably do all finishing to the doll before doing the lashes. You can leave the eyes in but it is likely better to pull them out while doing the lashes.
I painted pink blush color on the inside corners of the eye. All was sealed, dried and baked before rooting.
You could alternatively paint the lash line on the top or bottom brown or dark brown.
I had already painted some clear resin before doing the lashes for a water line right above the eyelashes.
I pre-painted the bottom lashes, but just a few tiny ones and a couple of long ones with a very, very fine paintbrush.
I probably painted about 8 fine lashes on each side and about 4-5 slightly longer eyelashes over the short ones from the outer corner of the eye to about 2/3 of the way to the center of the eye. But paint what looks natural and no more.
I sealed the lashes with the medium that I seal the doll with.
How I do it:
First we start out by deciding where we are going to put the lashes. In some cases, the doll does not have the best of eyelid to accept rooting. In this case you may want to glue on applied eyelashes or opt for an alternative option.
I have been rooting them right in above or on the eyelid of the doll.
Insert the hot rice sock that was prewarmed in the microwave or a warming lamp into the doll head. Use a paintbrush handle or pencil eraser to push the rice in if it is piping hot.
Kendall here had a very small eyelid that I was able to root the actual very bottom of the top eyelid.
Insert your hot rice bag inside and wait for the doll to get nice and warm so it's very pliable.
Use the root a loop method or which ever method you like to insert one hair a time through the eyelid. Try to space them evenly apart. Try to stay in the same line of eyelid so that the lashes look natural. Follow the eyelid bottom and make your way across inserting the rooting needle and hairs one at a time.
After you push the hair in make sure not to pull them out. They should stick out on the back side of the eyelid. Then when you go from one end to the other from the inside of the eye to the outside, go back over several times to make sure the lashes are thick enough to look real.
Use a toothbrush with water on it or spray water on it to brush the lashes up gently and see if you spaced them well. Pluck any that don't sit well and then add more where they look to sparse. I try to make sure they look kind of spaced nicely. Brush them up and let them dry.
Once you get them nice and standing up, and dry again, spray them with water again and brush up again. Let them dry. The hot rice bag will help them dry quickly. Trim the lashes down to size and then use a sharp scissors to trim them at an angle making some long and some short. Blow or dust away trimmed lashes and make sure both sides are evenly cut. Look at them from above and make sure they look even. Cut the inner lashes a tad shorter than the outer lashes. Remove hot rice packs.
Trim any long hairs hanging down inside the eyes. Once they look good get your glue and run a q-tip up inside the eyes with a very light layer of glue over the hairs brushing it up inside the eyelids with the glue. Let them dry for 24 to 48 hours. Then you can insert the eyes in and glue your eyelids shut.
If you are going to add resin, tears or other medium make sure to clean the eyes carefully to make sure all hairs are trimmed up and no hairs are sticking out or laying along the vinyl. Brush with a paintbrush or toothbrush to get strays out before adding any tears.
Do not bake, use a heat gun or do other things to heat the vinyl to the eyes after the lashes are in. They are liable to melt and you will have to pluck them out and start over.
For closed eyes:
Alternatively if you have a eyelid crease where your babies eyes are closed. Root the lashes along the eye crease and seal the eyes through the neck you should see the lash hairs on the inside of the head.
Here are some videos of the process.
Part One
Part Two
Thanks for visiting! Have fun rooting your babies eyelashes and keep practicing! Practice makes perfect!